Hey guys, taking a screenshot is necessary for most of the application so in this post you will learn how to take a screenshot using python.
There are various ways to take a screenshot using python. The first and most popular way is using PyAutoGUI module. You can also use a pillow module for taking screenshots in python.
PyAutoGUI is a cross-platform GUI automation Python module for human beings. Used to programmatically control the mouse & keyboard.
Installing PyAutoGUI
To install PyAutoGUI module, you have to run the following code on your command prompt.
Code For Screenshot Using PyAutoGUI
- screenshot( ) method of pyautogui class is used to take a screenshot of your screen.
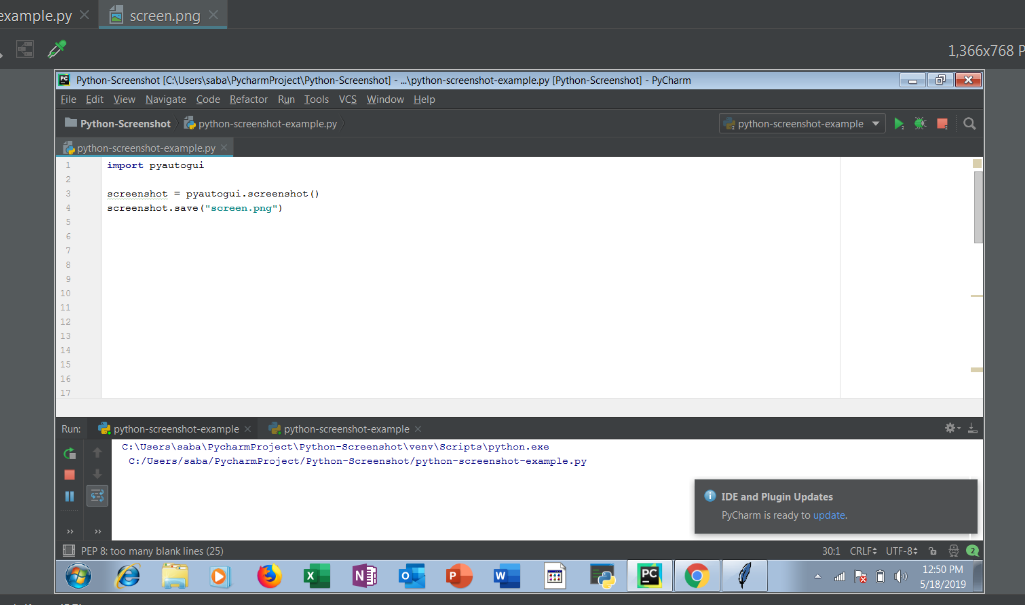
Now write the following code on your python IDE.
- First of all import pyautogui module.
- Then create a variable(file) that will store the screenshot.
- screenshot( ) method will take a screenshot of your screen.
- Now save this image by calling save( ) method. You have to pass the name of a screenshot to the save( ) function.
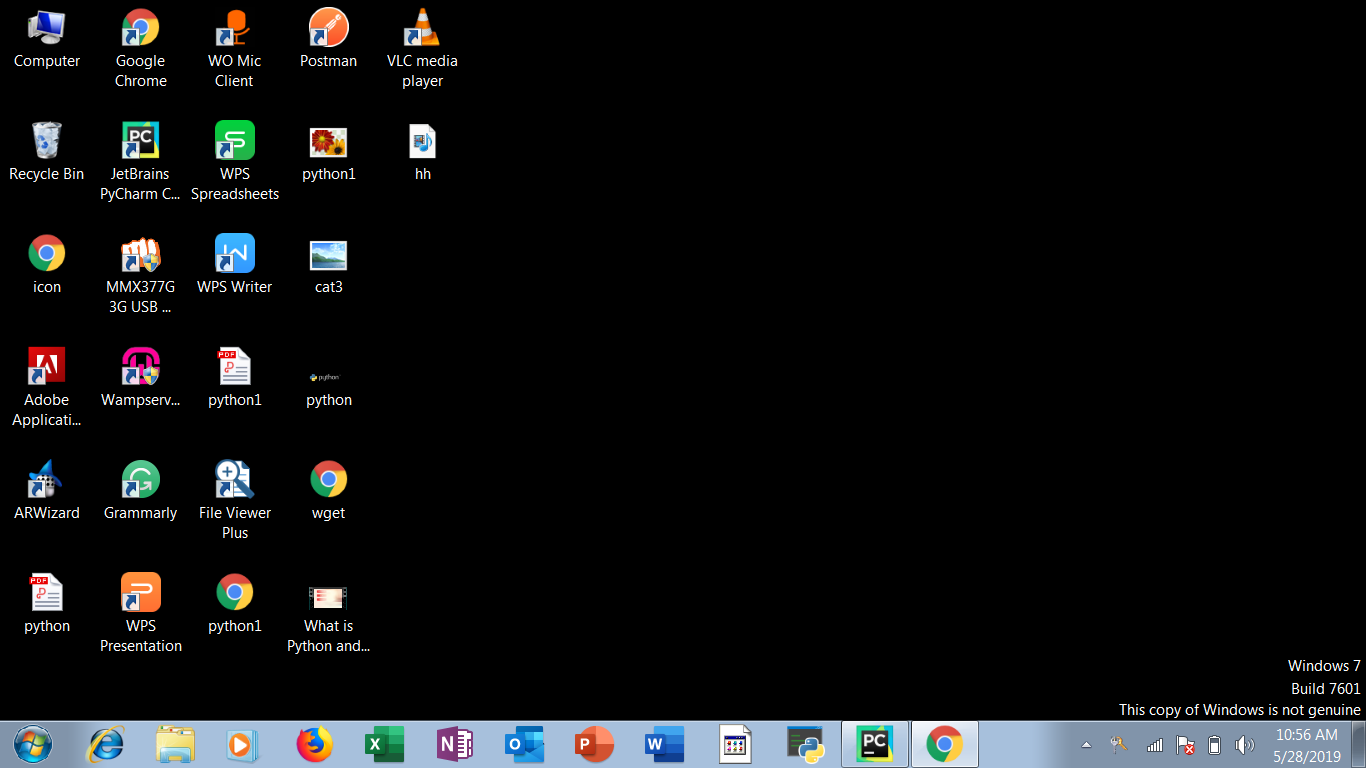
Let’s check the output –
- Now you can see, the screenshot of your screen has been captured.
Taking Screenshot With Time
In the above example, you have seen that the screenshot of current screen is captured, but if you want to take a screenshot of another screen such as your desktop or anything else, so what can you do. For this, you have to use a time module. sleep( ) method of time module is used to add a delay in the execution of a program.
So now write the following program.
- Firstly import time module.
- Then call sleep( ) method and pass an argument which is your delay time. Here I am passing 6, you can pass as much you want.
- Now run the code and go to desktop or wherever you want to take a screenshot. After 6 seconds it will take a screenshot of your screen.
Now let's check the output.