Install Python 3 with the Official Installer
Downloading the latest Python version from the official Python website (python.org) is the most common (and recommended) method for installing Python on a Mac. Let’s try it out.
1. First, download an installer package from the Python website. To do that, visit https://www.python.org/downloads/ on your Mac; it detects your operating system automatically and shows a big button for downloading the latest version of Python installer on your Mac. If it doesn’t, click the macOS link and choose the latest Python release.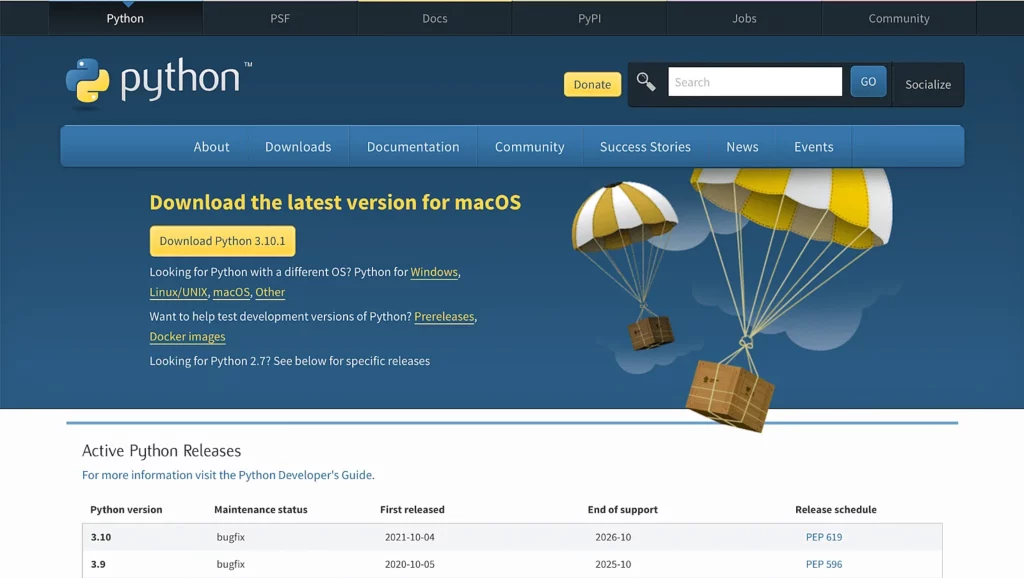
2. Once the download is complete, double-click the package to start installing Python. The installer will walk you through a wizard to complete the installation, and in most cases, the default settings work well, so install it like the other applications on macOS. You may also have to enter your Mac password to let it know that you agree with installing Python.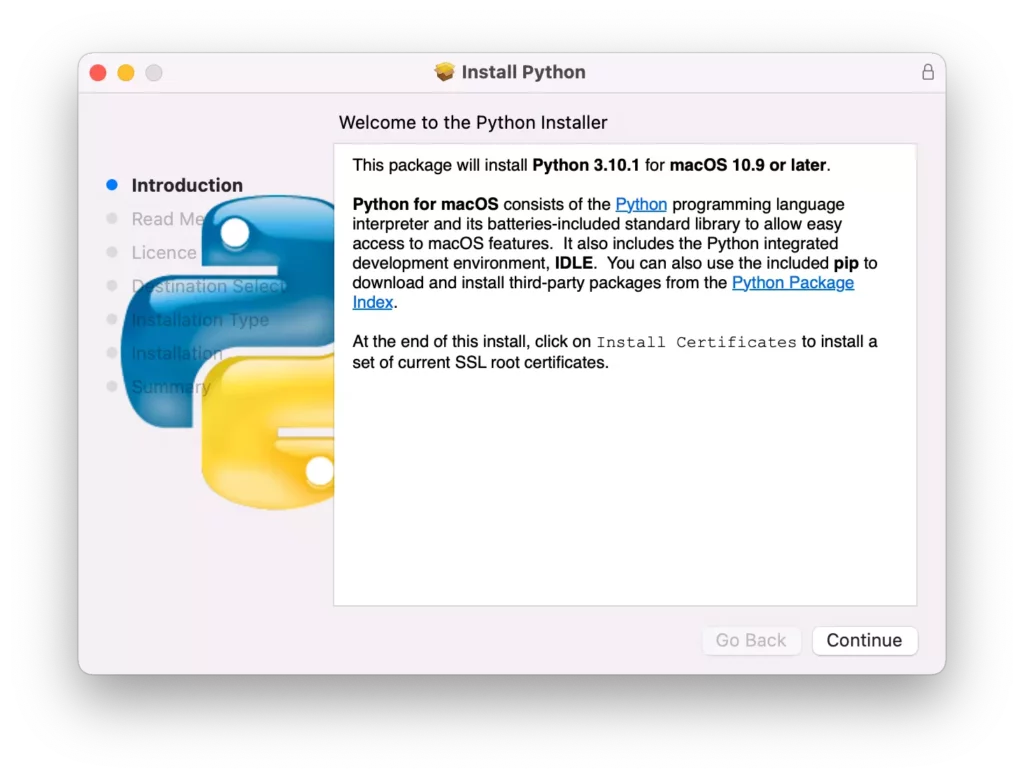
NOTE If you’re using Apple M1 Mac, you need to install Rosetta. Rosetta enables Intel-based features to run on Apple silicon Macs.
3. When the installation completes, it will open up the Python folder.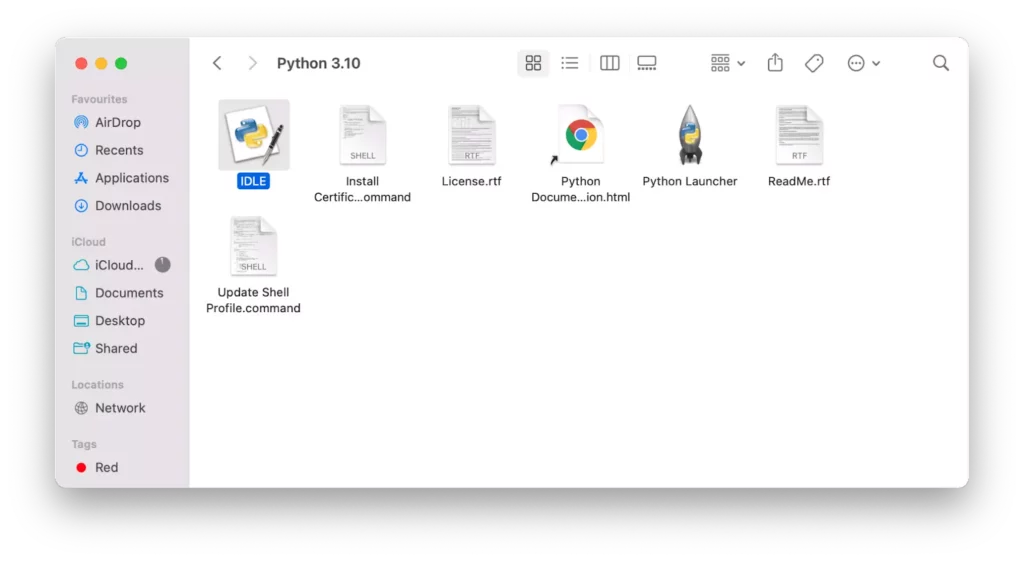
4. Let’s verify that the latest version of Python and IDLE installed correctly. To do that, double-click IDLE, which is the integrated development environment shipped with Python. If everything works correctly, IDLE shows the Python shell as follows: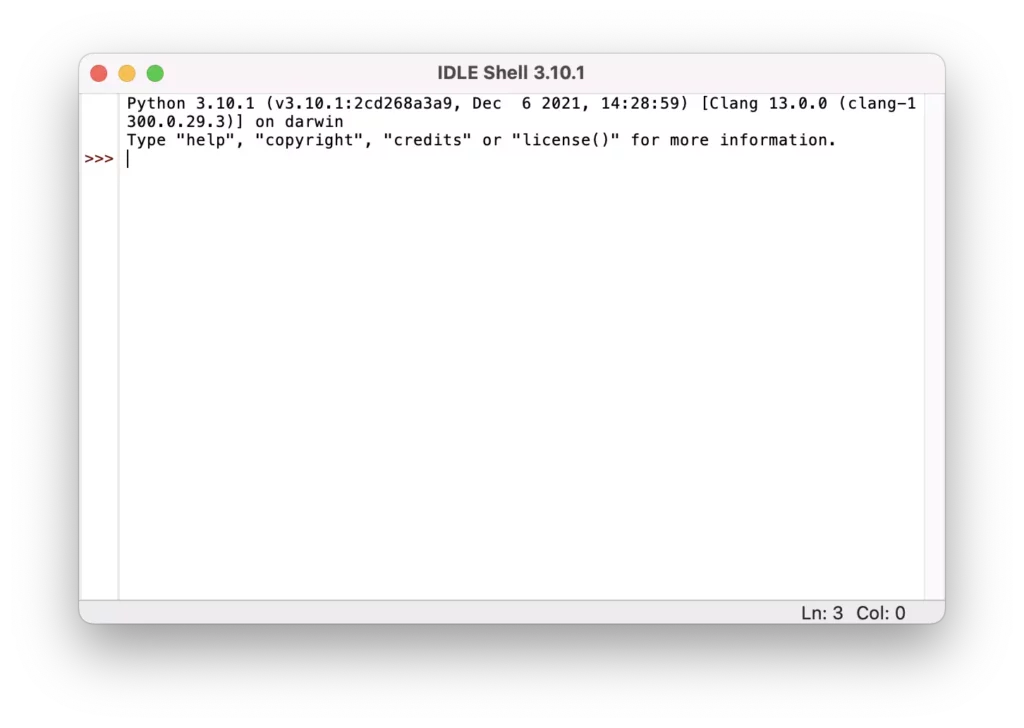
5. Let’s write a simple Python code and run it in IDLE. Type the following statement, and hit the return key.
print(“Hello, World!”)
Or let’s do a basic calculation in Python as follows: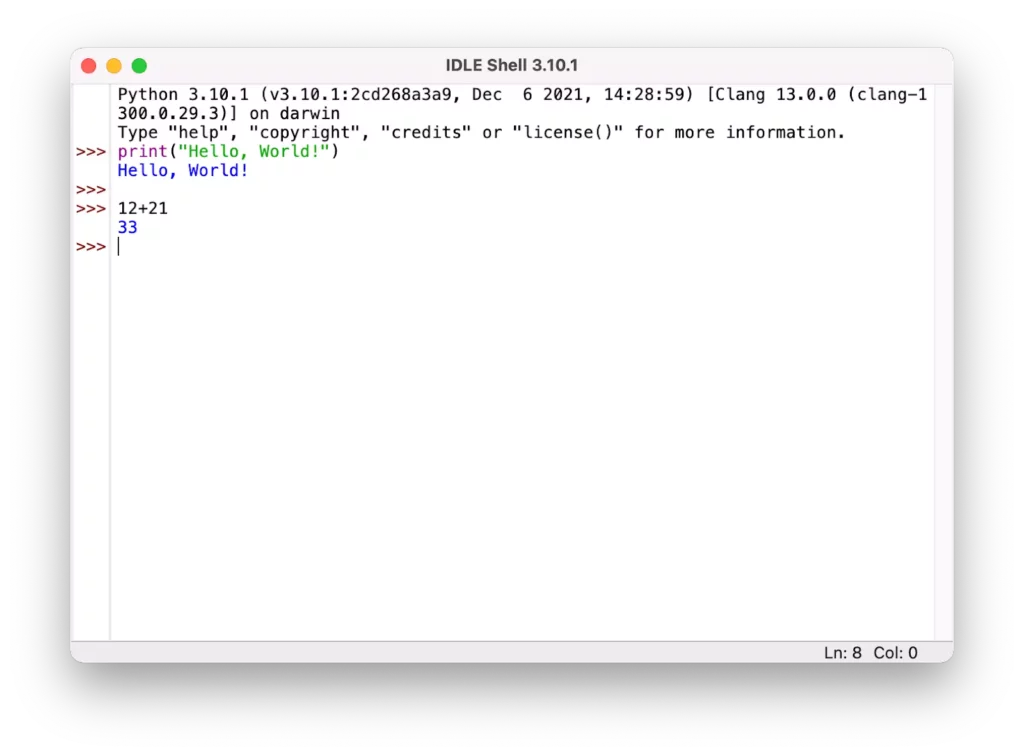
NOTE The exciting advantage of this installation method is that you can easily update an outdated Python install by downloading the latest Python installer. The new version of Python is available on your Mac once the installation is complete.
Installing Visual Studio Code on Mac
Although we can use IDLE or the terminal application for writing Python scripts, we prefer to use a powerful, extensible, and lightweight code editor rather than rigid coding environments. In this part of the tutorial, we’re going to install Visual Studio Code for Python development on macOS.
1. First, you need to download Visual Studio Code for macOS from its official website at https://code.visualstudio.com/.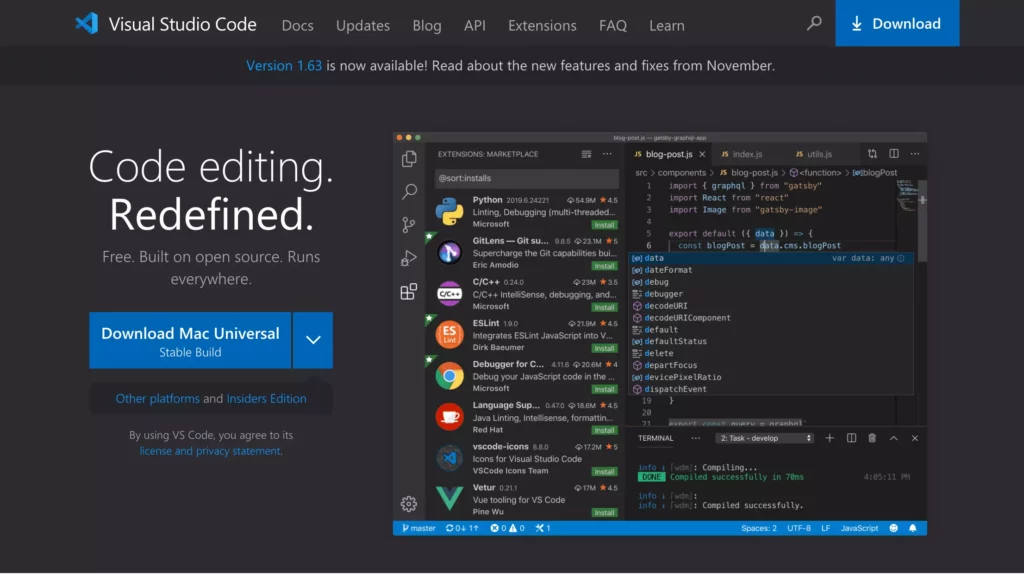
2. Double-click the downloaded file to extract the archived contents.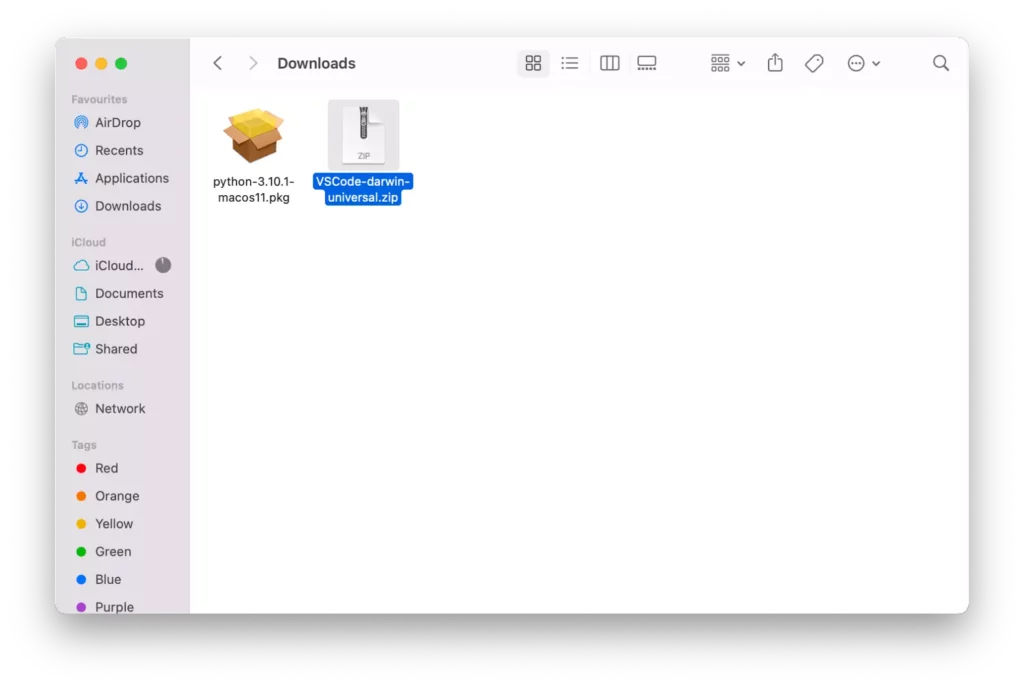
3. Move the Visual Studio Code application to the Application folder to make it available in the macOS launchpad.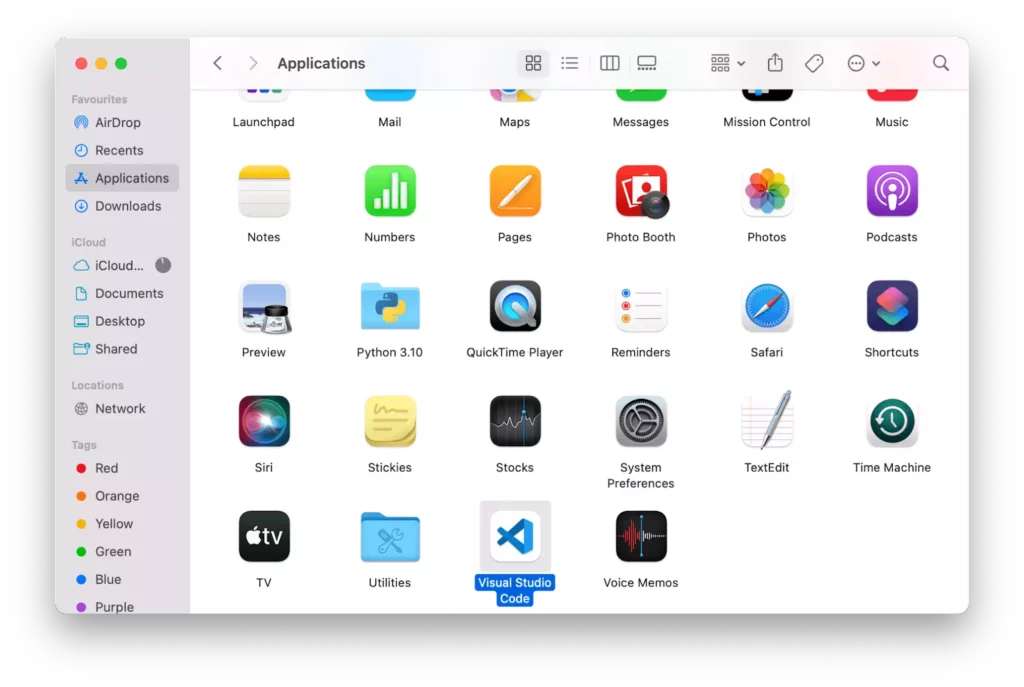
4. Launch Visual Studio Code, and then open a folder where your Python scripts exist (or create a new one). For example, create a new folder on your Desktop, and name it py_scripts, then try to open the folder on VS Code. Usually, VS Code needs your permission to access files in your Desktop folder; click OK.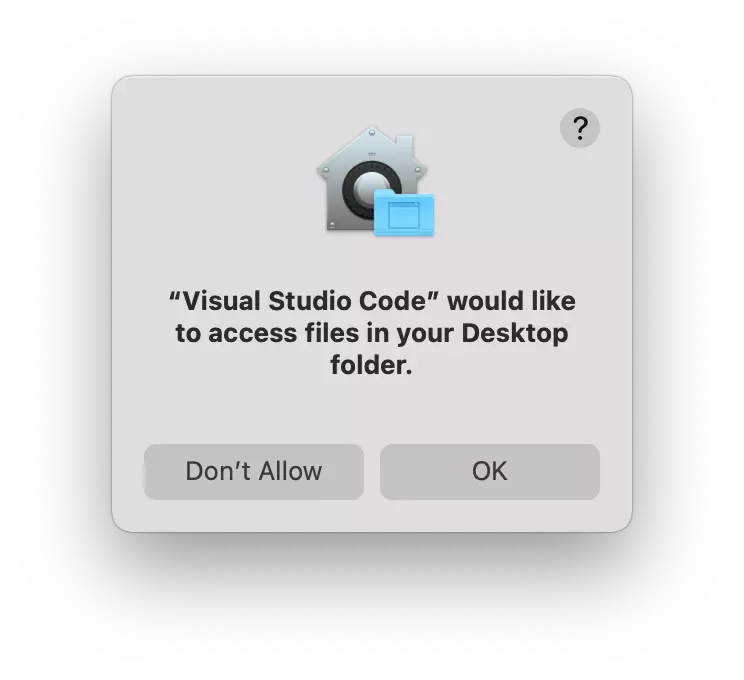
Also, you may need to declare that you trust the authors of the files stored in your Desktop folder.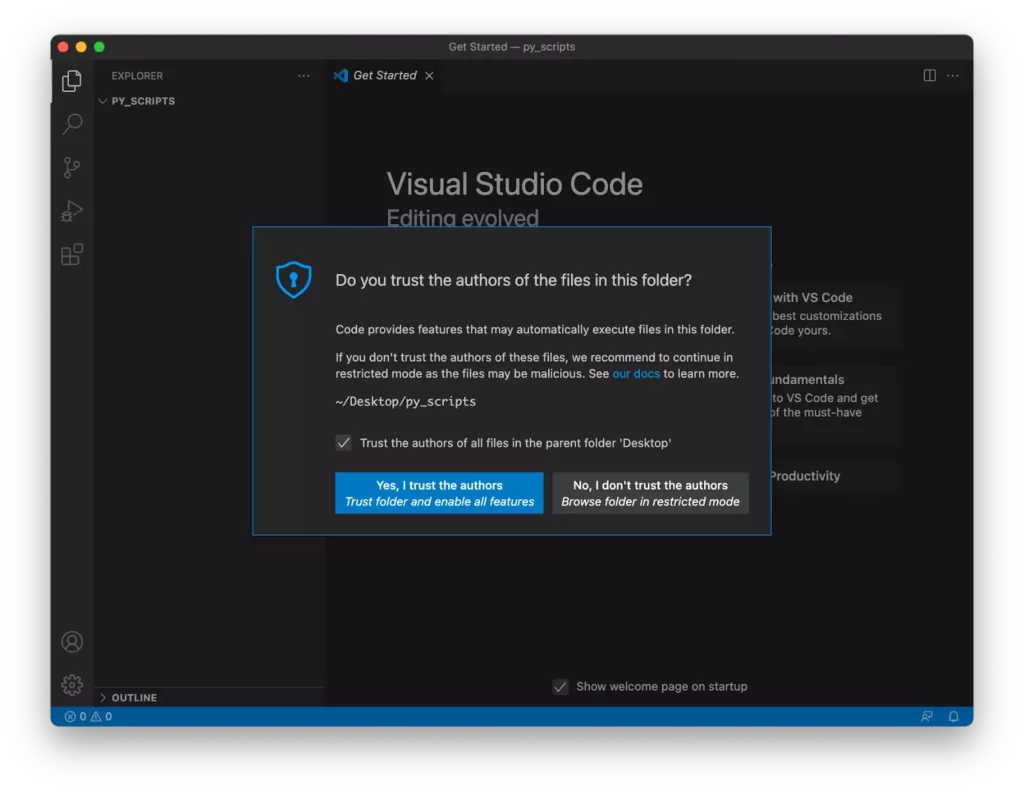
5. Create a new file with a .py extension. For example, create a new file, and name it prog_01.py. VS Code detects the .py extension and wants to install a Python extension.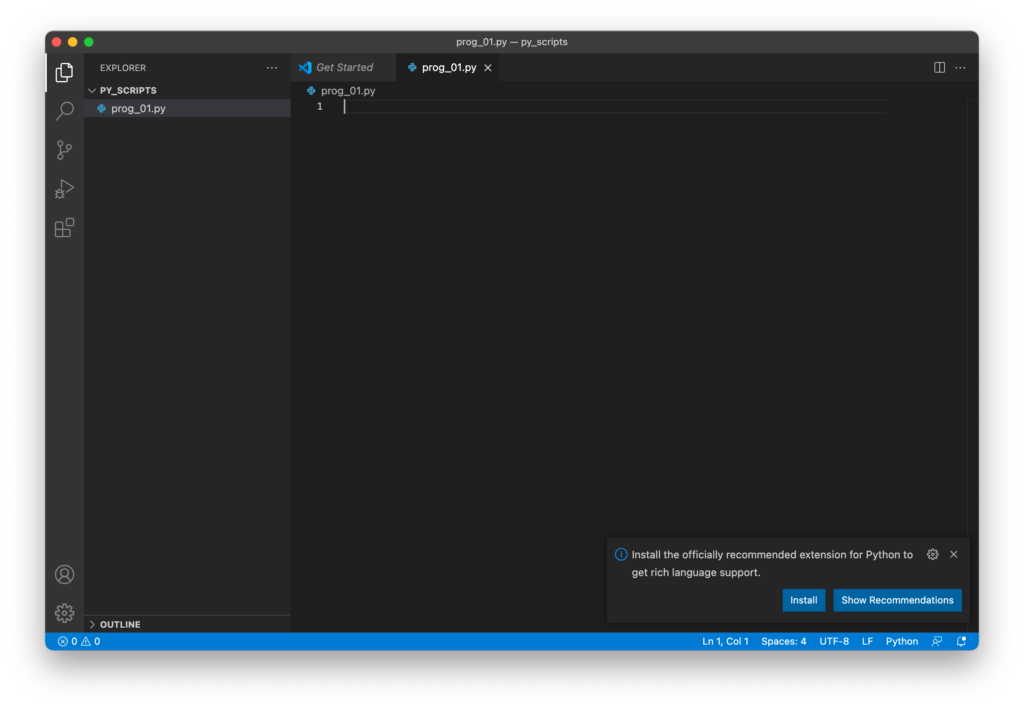
To work with Python inside VS Code, we need to use the Python extension, which includes many useful features, such as code completion with IntelliSense, debugging, unit testing support, etc.
Install it by clicking on the Install button.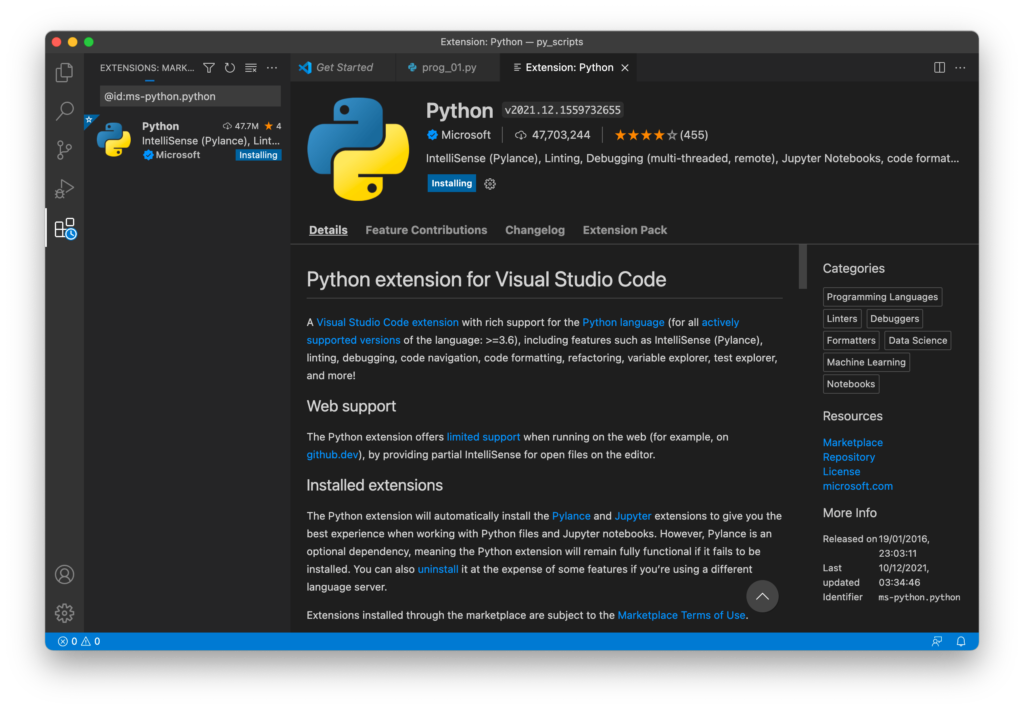
We can also install the Python extension by browsing extensions. Click on the Extensions icon on the left side of VS Code.
This will show you a list of the most popular VS Code extensions on the VS Code Marketplace. Now, we can select the Python extension and install it.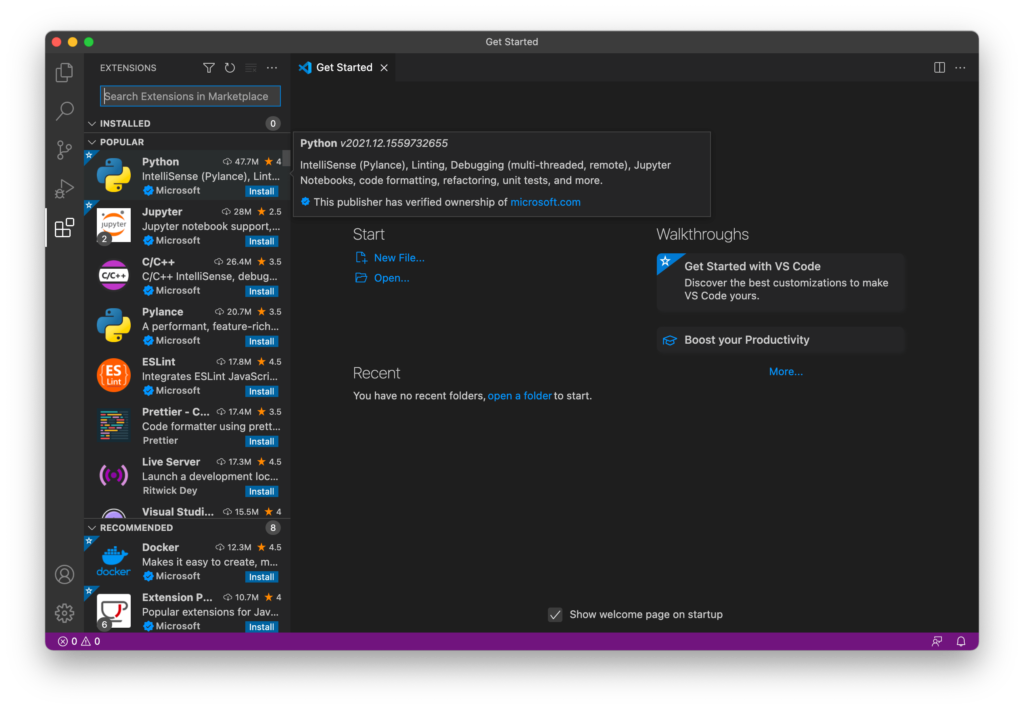
6. Once the extension is installed, you have to select a Python interpreter. Click on the Select Python Interpreter button: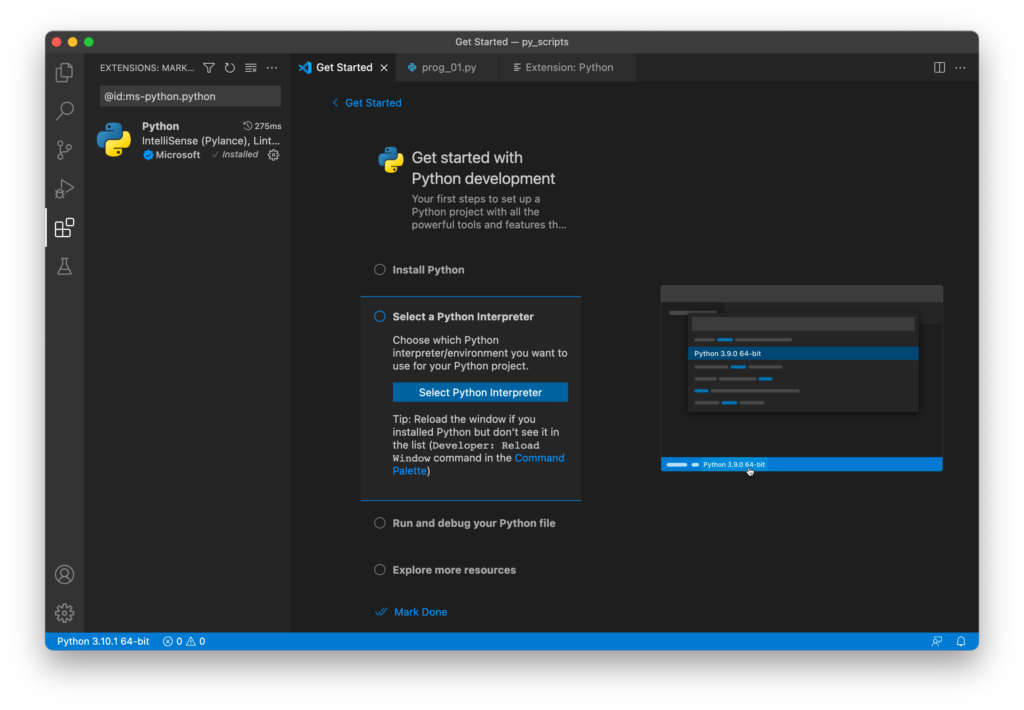
Then select the recommended Python interpreter on the list.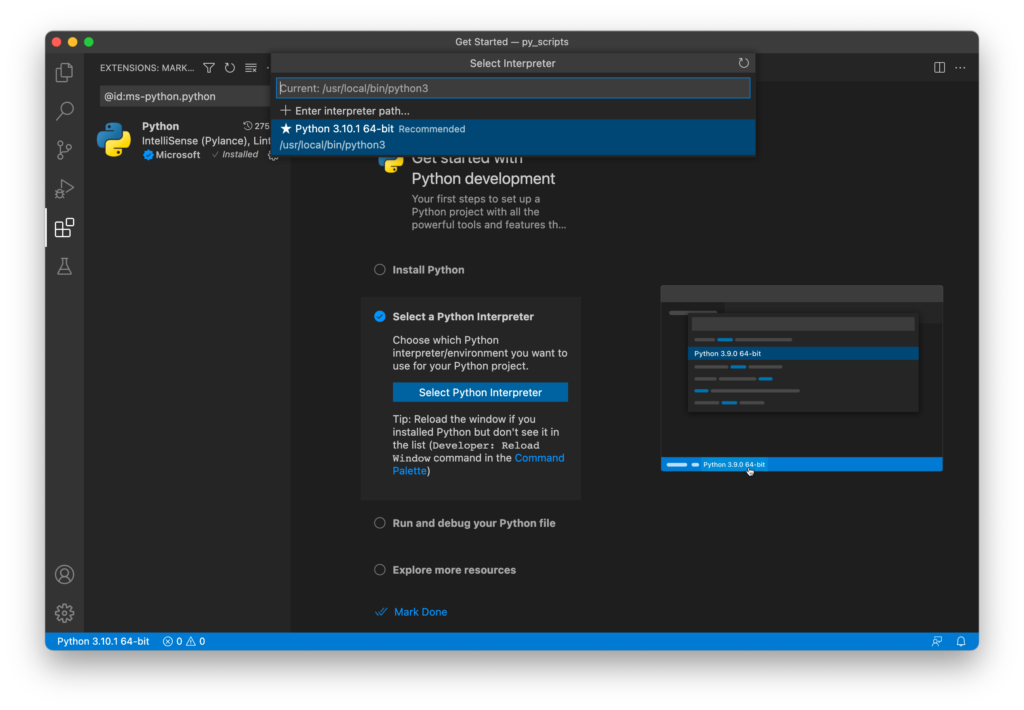
If you have multiple Python versions installed on your Mac, it’s better to choose the latest version.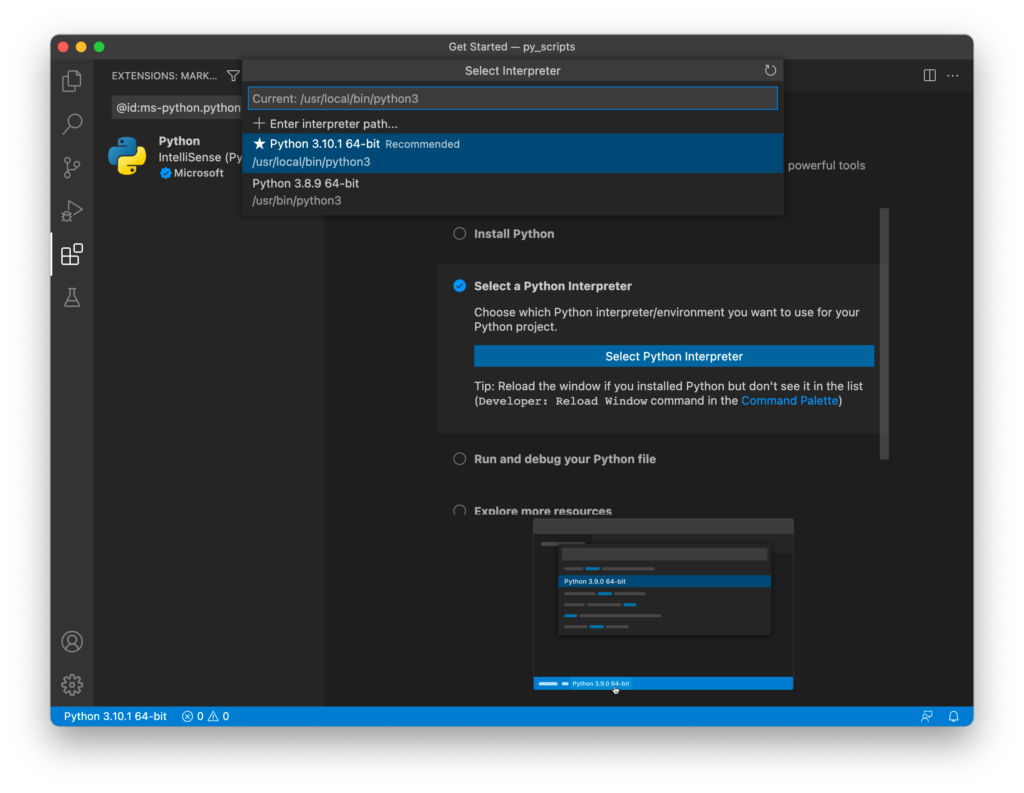
You also can select a Python interpreter using the Python: Select Interpreter command from the Command Palette. To do so, press CMD + SHIFT + P, type Python, and choose Select Interpreter.
Running Our First Python Script on Mac
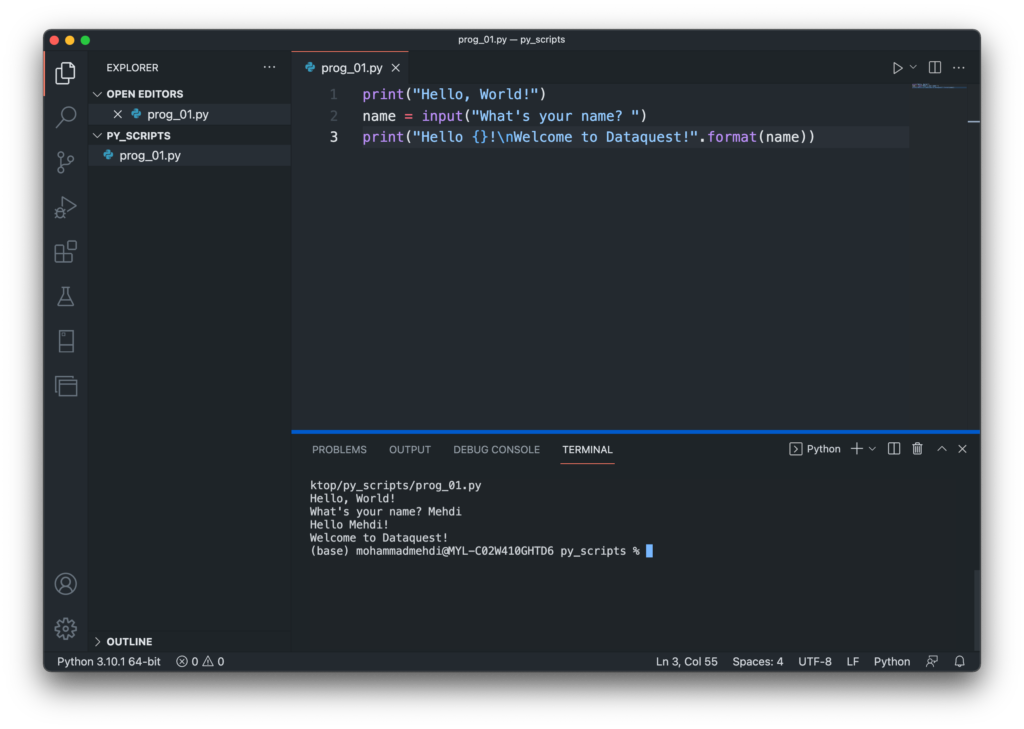
Excellent, we have everything we need to write and run our Python code inside VS Code. Let’s write the following code in VS Code and then run it.
print("Hello, World!)
name = input("What's your name? ")
print("Hello {}!\nWelcome to Dataquest!".format(name))
Run the code by clicking the ▶️ button at the top right corner of VS Code. First, it shows Hello, World! in the integrated terminal, then it asks your name; enter your name, and hit return. It outputs Hello <your name,>, and writes Welcome to Dataquest!on the next line.
Installing Jinja 2 Package :
- Open your macOS terminal.
- Type "pip install jinja2" without quotes and hit "Enter".
- If it doesn't work,try "pip3 install jinja2" or "python -m pip install"
- Wait for the installation to terminate successfully.